Window caulk protects your home by sealing out drafts, moisture, and insects, but over time, it can dry out, crack, or pull away from the frame. Left unattended, these gaps lead to higher energy bills, water damage, and even structural issues around the window.
In this guide, you’ll learn exactly how to remove old window caulk step by step, including the best tools, techniques, and common mistakes to avoid.
Materials and Tools You’ll Need for Removing Caulk from Windows
Removing old caulk from windows requires meticulous care and attention to detail. Having the right equipment makes the task easier and ensures the end result is both efficient and aesthetically pleasing. Below, we’ve outlined a comprehensive list of what you’ll need to remove window caulking.
Protective Gear
- Safety goggles: Shields your eyes from debris or caulk splinters.
- Disposable nitrile gloves: Protects hands from chemicals and improves grip.
- Work gloves: Use when handling sharper tools or scraping near metal/aluminum.
Caulk Removal Tools
- Utility knife or razor scraper: Ideal for slicing and lifting caulk from flat surfaces
- Putty knife or painter’s tool: Helps dislodge stubborn sections without damaging the frame.
- Oscillating multi-tool (optional): Speeds up removal on tough or uneven areas.
- Caulk removal tool: Specialized for digging out caulk from tight seams.
Softening & Cleaning Aids
- Heat gun: Softens caulk, making it easier to remove (especially for rubber and acrylic types).
- Caulk remover solution: Breaks down caulk chemically (always follow safety instructions).
- Nylon bristle brush/wire brush: Scrubs away softened residue.
- Rubbing alcohol (isopropyl): Cleans and preps the surface after scraping.
- Rags: Wipe away debris and residue.
- Fine-grit sandpaper: Smooths the surface before re-caulking.
Don’t let old caulk cause problems. Choose our window caulking experts at Apex Window Werks for unparalleled craftsmanship and results.
or call us(847) 557-9600
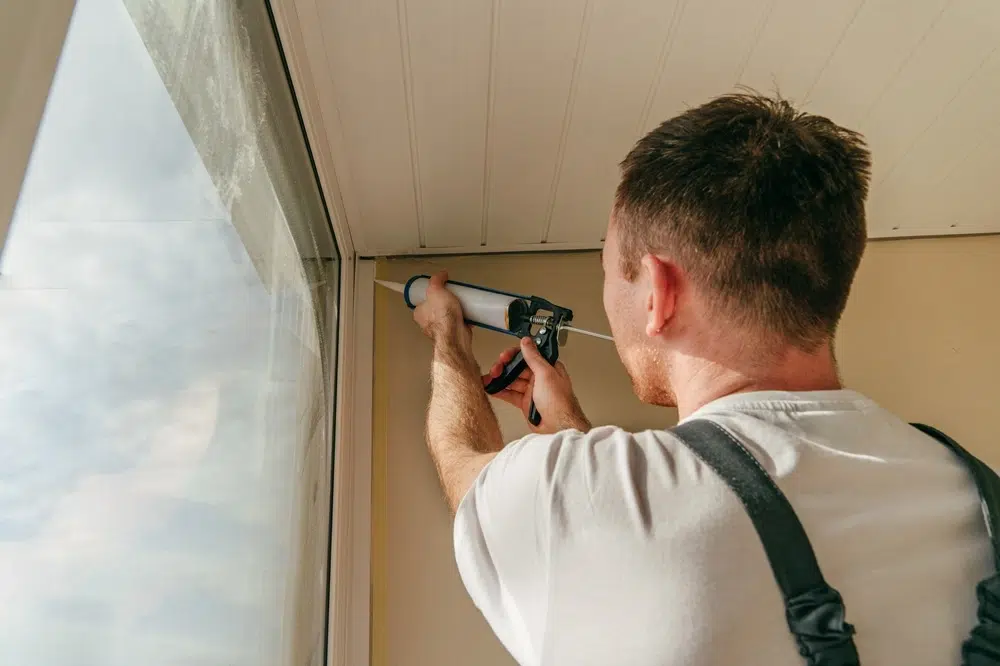
How to Remove Caulk from Windows: Step-by-Step Process
Here’s a step-by-step breakdown of how to remove window caulking successfully.
Step 1. Prepare the Area
Starting with the right setup ensures a clean and efficient caulk removal process. This step prevents mess, protects your surfaces, and helps your tools work as intended.
Make sure to:
- Clean the window frame with mild detergent to remove dust, oils, and residue.
- Dry the surface thoroughly before you apply any heat or chemicals.
- Cover nearby surfaces with a drop cloth or painter’s tape to protect surrounding materials.
Once everything is dry and protected, you’re ready to begin with caulking removal.
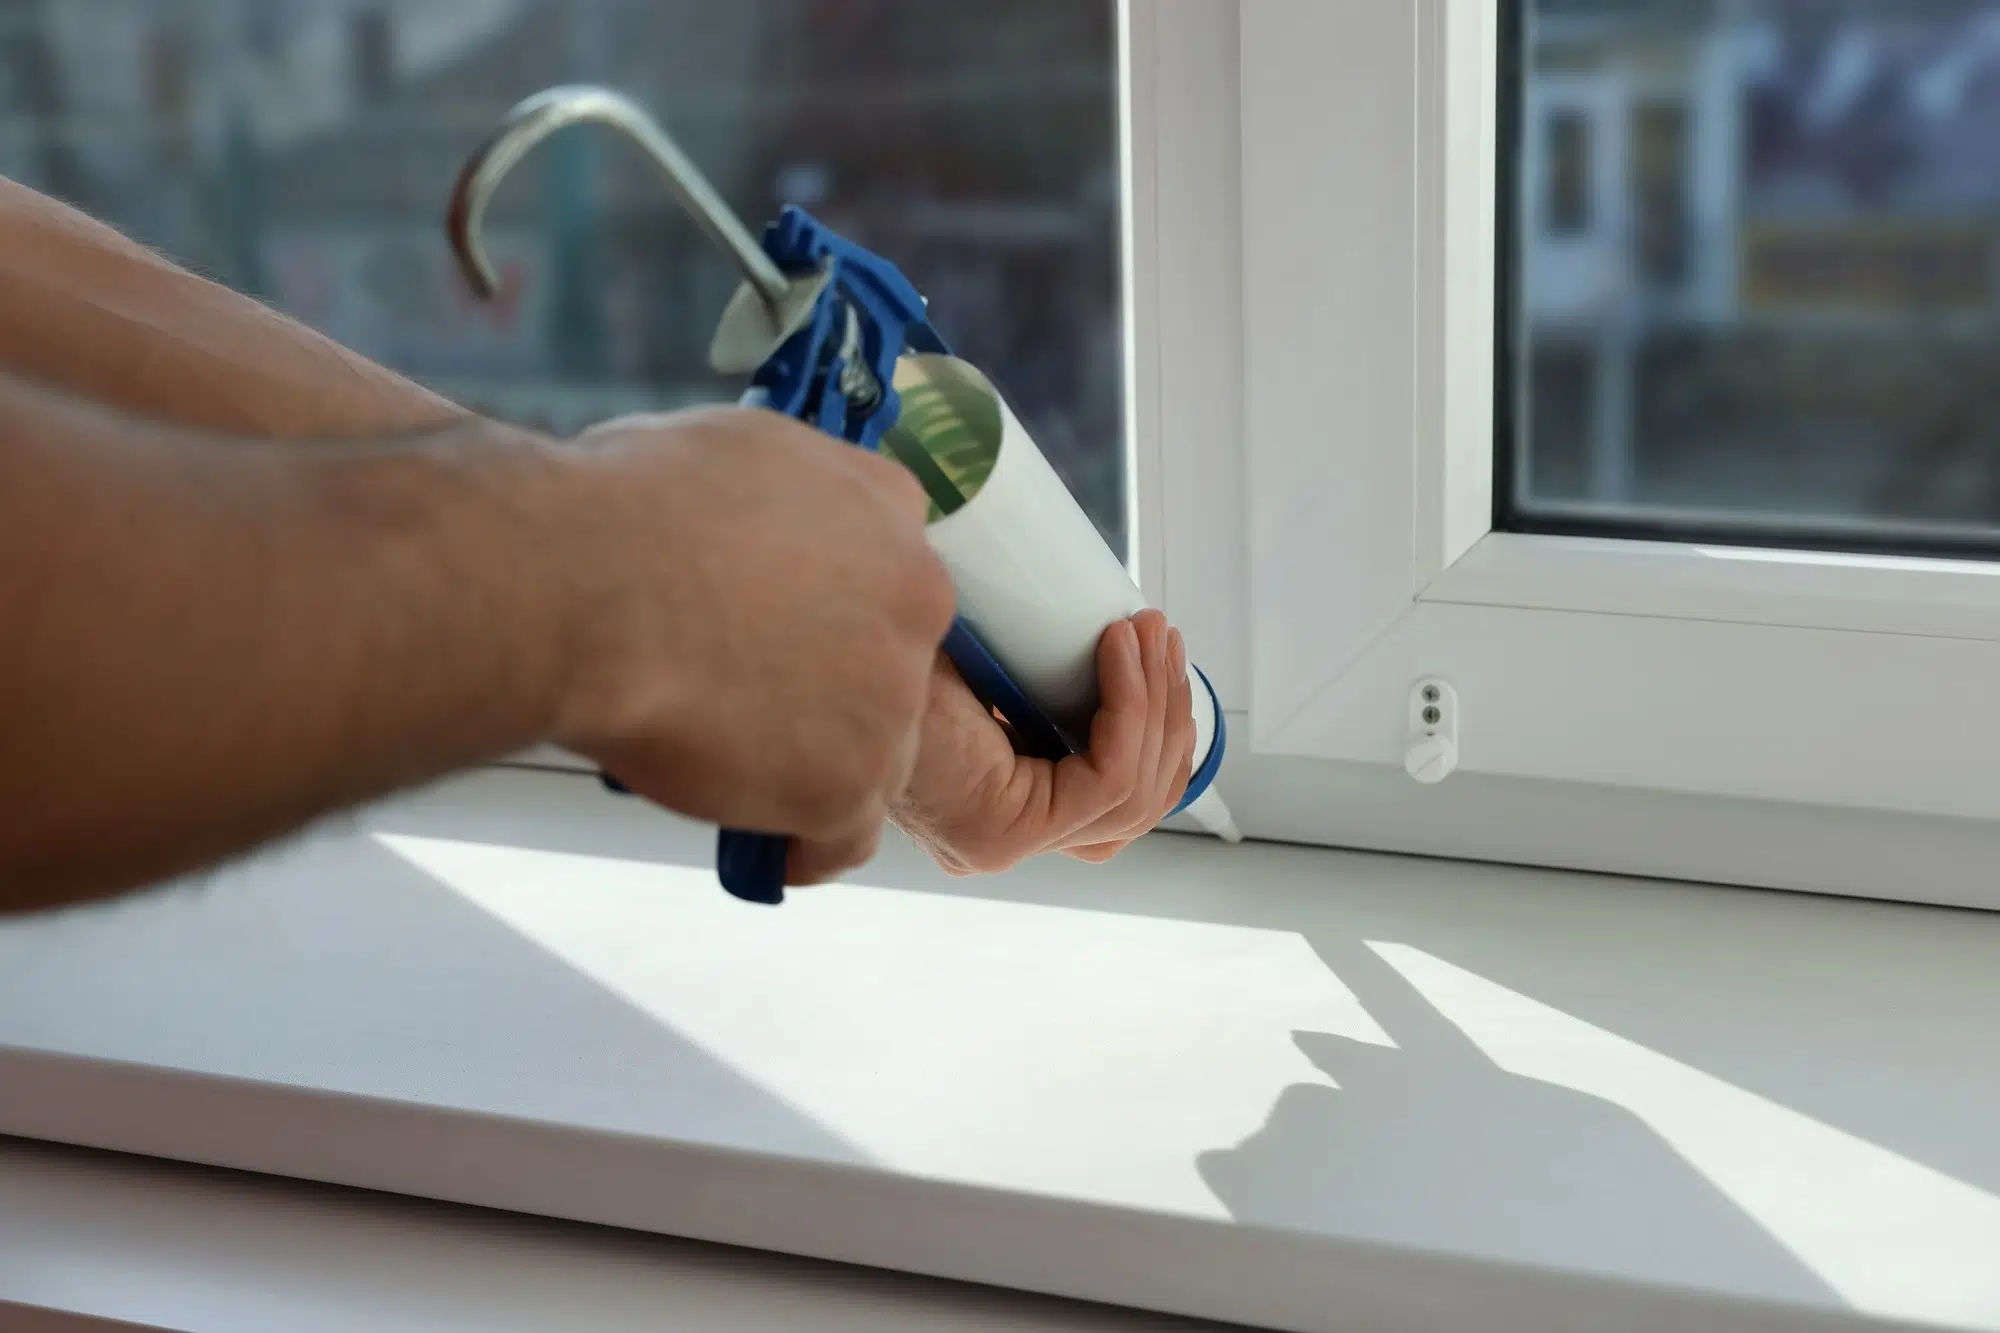
Step 2. Softening Existing Caulking
Soften the caulk before trying to remove it. This allows it to separate more easily from the surface and helps avoid gouging or tearing paint, trim, or window components. You can choose between two softening methods.
Use heat:
- Warm the caulk with a heat gun or hairdryer on a low to medium setting.
- Sweep the heat source slowly across 6–8 inches of caulk at a time.
- Avoid prolonged exposure to any one spot to prevent warping or bubbling nearby surfaces.
Use a caulk remover:
- Apply a chemical caulk remover evenly along the caulk line.
- Allow the solution to sit for the time indicated on the label (typically 15–30 minutes).
- Use gloves and ensure ventilation when working with solvents.
After softening, the caulk should be pliable enough to lift off without resistance.
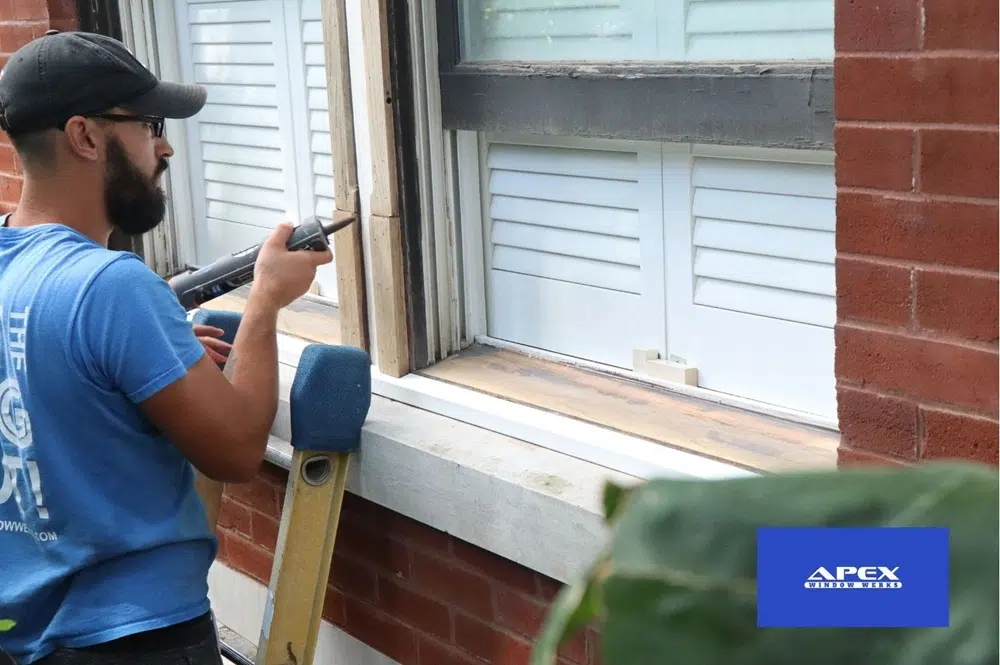
Step 3. Removing the Softened Caulk
Once the caulk has been softened, the next step involves leveraging tools to remove it. Different types of caulk may require slightly varied approaches.
Use the following tools and techniques:
- Silicone caulk: Lift it with a putty knife or razor scraper, working in long, steady pulls.
- Butyl rubber caulk: Cut it using a utility knife or an oscillating multi-tool, especially for exterior or industrial-grade applications.
- Acrylic latex caulk: Use a putty knife at a low angle, keeping pressure even to avoid gouging.
The right technique often depends on both the type of caulk and the window material. The chart below provides a quick reference for matching the right removal method to your situation.
| Window Type | Corresponding Caulk | Removal Method |
|---|---|---|
| Exterior | Butyl rubber | Soften the caulk using a heat gun, then employ a sharp knife to slice through it. |
| Interior | Acrylic latex or silicone | Attempt to extract the caulk using fine-tipped pliers. If unsuccessful, warm the caulk using a hairdryer and employ a sharp blade to remove it. |
| Vinyl | Acrylic latex | Slice the caulk with a knife. Should any residue persist, dampen a rag with alcohol to soften what remains, then scrape it off with a sharp putty knife. |
| Aluminium | Butyl rubber or acrylic latex | Personal caulk: Warm with a hairdryer, remove it with a blade. Construction caulk: Heat progressively, slice with a knife. |
| Wood | Acrylic latex, silicone, or polyurethane | Slice with a knife or scraper. Soften stubborn caulk with a heat gun or remover. Scrape with a putty knife. |
Always use slow, deliberate motions. Avoid prying or digging aggressively: clean removal is easier and more precise when the caulk has been properly softened.
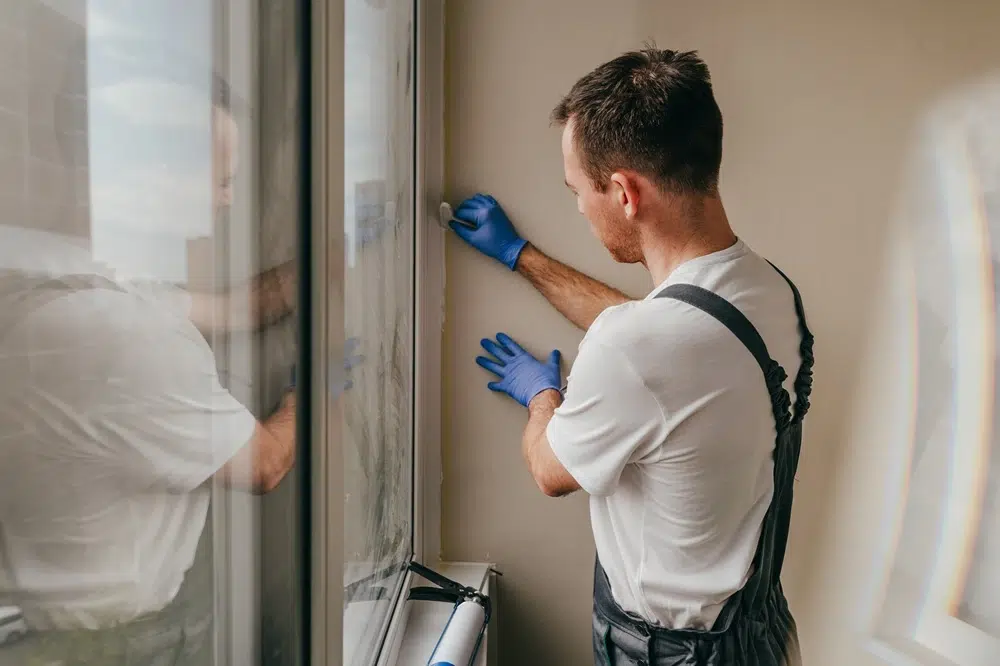
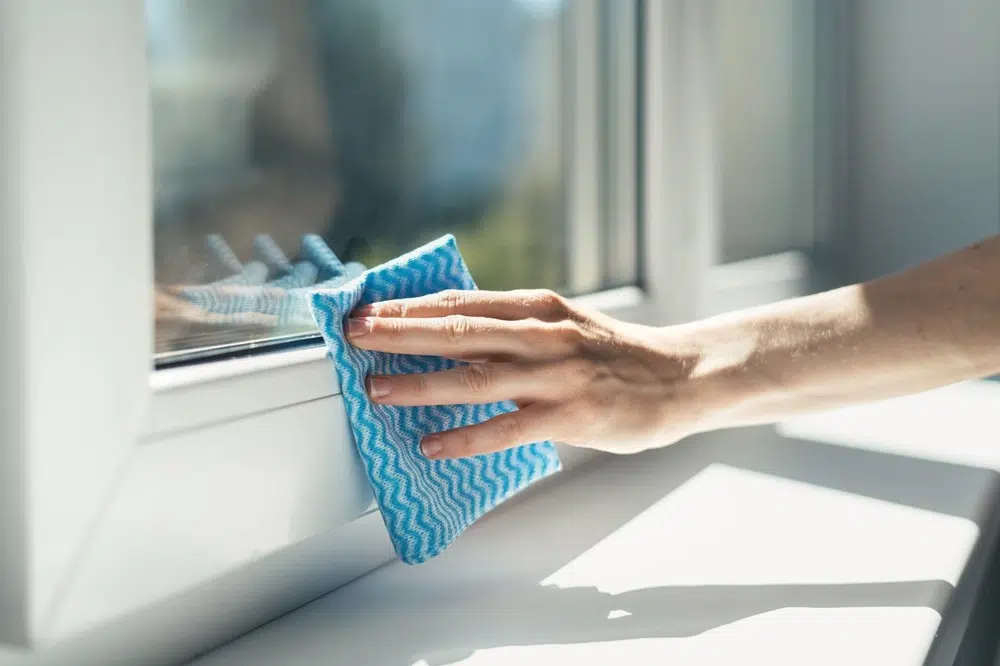
Step 4. Sanding and Cleaning the Surface
Before applying a new caulk, the surface must be smooth, dry, and free of all residue. Cleaning properly ensures strong adhesion and a professional-looking finish.
Here’s how to prepare the surface:
- Brush away remaining fragments with a nylon or wire brush.
- Lightly sand the area with fine-grit sandpaper to eliminate ridges or leftover adhesive.
- Wipe the surface with a rag dampened with rubbing alcohol (isopropyl) to remove dust and chemical traces.
With the surface prepared, the joint is ready for a new caulk that will restore energy efficiency and protection. For homeowners who want professional results without the hassle, Apex Window Werks is always available to reseal your windows.
Common Mistakes to Avoid While Removing Caulking from Windows
When it comes to removing and replacing exterior caulking, there’s a fine line between a job well done and potential mishaps.
Over-Reliance on Caulk Removers
Caulk removers are designed to break down adhesives, but using them excessively or leaving them on too long can harm surrounding finishes. Chemical residue may also interfere with new caulk. Apply sparingly, follow product directions, and pair removers with careful scraping for best results.
Skipping Surface Preparation
A clean, dry surface is critical before applying new caulk. Dirt, grease, or even slight moisture can prevent adhesion and shorten the seal’s lifespan. Take time to wash the area, allow it to dry thoroughly, and sand lightly so the new bead bonds smoothly.
Using the Wrong Caulk Type
Not all caulks are made for every window material or climate. Applying a formula with poor flexibility or weak weather resistance often leads to cracks, peeling, and wasted effort. Always choose the right type for wood, vinyl, or aluminum frames to ensure durability.
Not Smoothing the Caulk Bead
Even if caulk is applied correctly, failing to smooth the bead leaves gaps and uneven edges that compromise both function and appearance. A caulking tool or wet finger ensures consistent coverage, prevents air pockets, and creates a seal that lasts longer and looks cleaner.
Applying Caulk in Poor Weather Conditions
Temperature and humidity directly affect caulk adhesion. Working in extreme heat, cold, or damp weather can cause caulk to dry unevenly or fail prematurely. Whenever possible, plan the job for mild, dry conditions so the sealant cures properly and performs as intended.
Failing to Fill Larger Gaps
Gaps that are too wide for a single bead of caulk should first be backed with a foam rod. Skipping this step causes premature cracking and wasted product. A backer rod provides depth and support, helping caulk adhere more effectively and extending the life of the seal. These common mistakes can lead to damaged frames, poor adhesion, and wasted money.
If you’re grappling with stubborn caulk, Apex Window Werks offers a quick, reliable, and affordable alternative, ensuring your windows are perfectly sealed and your budget is intact.
Seal the Deal on Window Care!
Your windows shouldn’t leak air, water, or money. At Apex Window Werks, we remove failing caulk and replace it with precision sealing that strengthens your home.
Book your estimate now: your windows will thank you every season!
FAQ
What’s the difference between removing interior vs. exterior caulk from windows?
How can I tell what type of caulk is currently on my window before removing it?
Do I need to remove all of the old caulk, or just the loose sections?
What should I do if the caulk is crumbling into very small pieces instead of peeling away?
Can I remove caulk if the weather is below freezing or very hot?

Get a free estimate
Hire the window repair company you can trust.