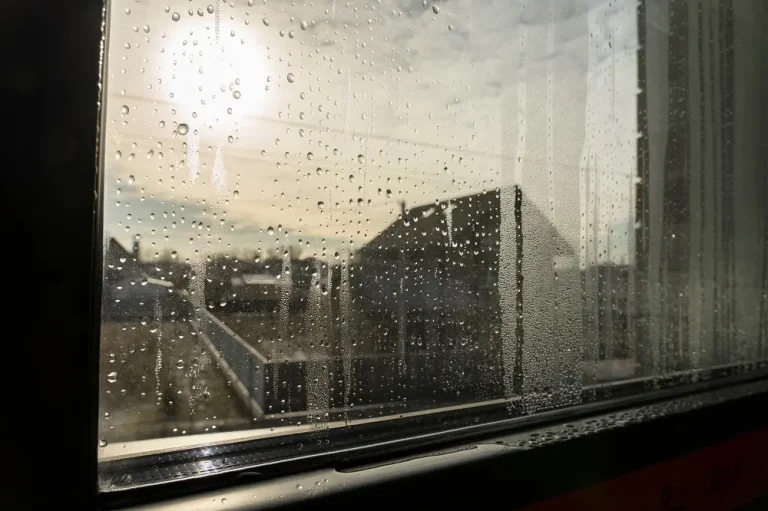
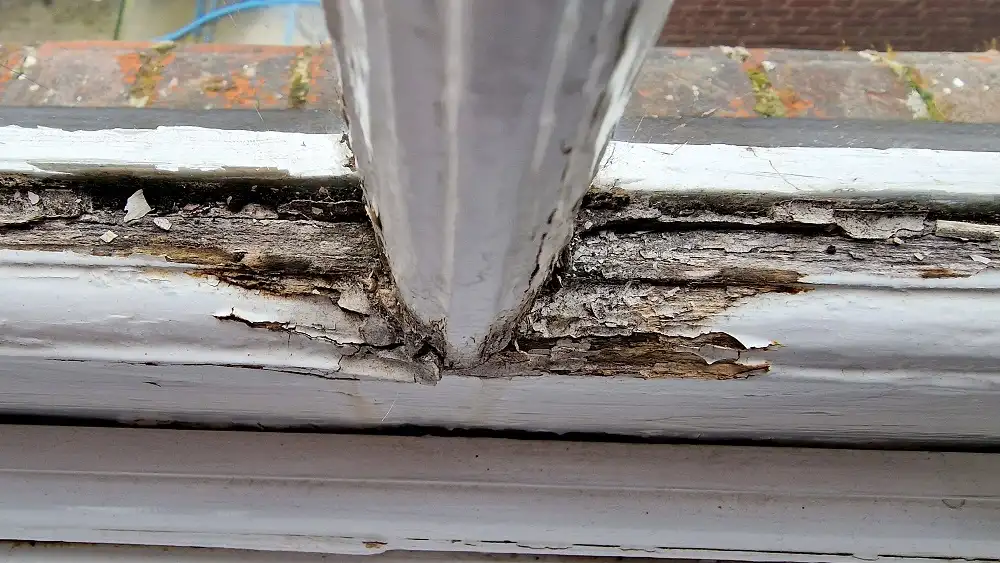
Have a rotted window frame? Don’t sit there and worry, wood rot repair is a common issue! Rotting wood in window frames is often caused by fungi, dampness, and water damage. This blog post provides a step-by-step guide to tackling rotted window repair. Discover how to assess the damage, remove the frame, and make it look new.
We’ll also dive into all the materials you can use to fill in the frame and patch it up perfectly. Get all the pro tips on how to fix a rotted window frame from our wood window repair service company.
Rotted Wood Frame Repair Options

There are three potential methods to fix a rotted window frame, depending on the extent of the decay:
- Epoxy wood filler: If less than 20% of the board is rotted, remove only the damaged section and keep most of the wood intact.
- Replace the section of rotted wood: If more than 20% of the wood around the window is rotting, this method is best, although a bit more complicated.
- Full-frame replacement: If there’s rot in the structural components of the window frame, then it’s safer and more cost-effective to replace the entire window, preferably with a specialist’s help to guarantee proper load-bearing capacity.
Let’s discuss these options in more detail!
Method 1: Fixing with Wood Epoxy
Epoxy is a great option for fixing wood rot around windows. It is a strong, durable, and waterproof material that will hold up for a long time against the elements. With epoxy wood filler, you can fill in those rotten spots, shape them to match the rest of the wood, and sand it smooth. It’s like the rot was never even there!
Materials Needed
To successfully fix your project using epoxy, you will need a:
- Construction chisel
- Putty knife
- Wood filler epoxy
- Matching paint
- Paintbrush
- Sandpaper
- Gloves and a facemask
#1. Determine the Level of Damage
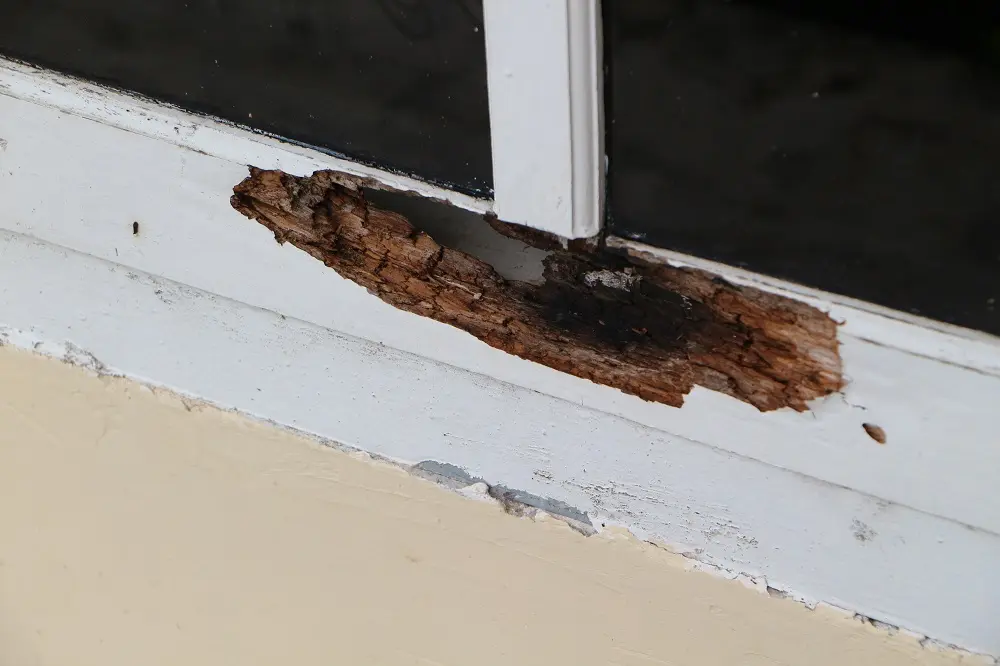
If you want to check the amount of wood that rots yourself, you can use a screwdriver or chisel to inspect the edges of the wood. Carefully scrape the surface to see whether there are deeper areas of decay. If you are unsure of how much rot is present, it is best to seek the help of a professional.
#2. Scrape Out Small Rotted Spots
Using a chisel, scrape away the rotted wood. For deep rot, use a hammer to scrape further into the wood. Continue to do this until all the rotted wood has been removed.
#3. Prepare the Epoxy
After you’re gloved up and ready to go, follow the instructions on the back of the epoxy package to mix the components. Opt for a non-stick surface such as wax paper or a freezer bag to make mixing easier.
#4. Apply the Epoxy
After combining the solution with the putty knife, spoon the epoxy into the space you made in the wood. You want to ensure the epoxy is even with the surrounding wood while filling all the gaps. Once that is finished, check the directions on the box for curing time. This may take up to several hours.
#5. Sand and Paint
Once the epoxy is dry, use some sandpaper to smooth down any excess material to level it with the surrounding wood. You can tell when you’re done sanding, as the color will be the only difference between the new epoxy and the original wood. Now, give the wood a couple of coats of paint. After the paint dries, your window will be as good as new.
Method 2: Replace Rotted Wood Sections
Replacing rotted wood around windows is more complex than epoxy, but it can be done DIY if you follow these steps and ensure accurate measurements. Here’s how to replace rotted wood around a window:
Tools and Materials Needed
If the wood around your window is rotted, patching it will not be a lasting fix, so replacement is a better choice.
This method requires basic carpentry knowledge and a few tools:
- Lumber
- A saw
- A drill or hammer
- Wood screws or nails
- A tape measure
- Wood putty
- A clawed hammer or pry bar
- Caulk
#1. Remove the Rotted Wood
Start by prying off as much rotten wood from the window as possible. Next, insert the clawed end of the pry bar into the corner of the remaining board, and press it against the healthy wood to create enough leverage to remove the rotted board from the window. Work carefully to minimize damage to any surrounding boards and the window itself to a minimum.
#2. Measure the Sections of Rotted Wood
Use your tape measure to get precise measurements of the rotted boards you have taken out. Ensure you measure the board’s length, width, and height. Be exact when measuring this will help guarantee that the replacement boards are the correct size.
#3. Seal Breaks in the Sheathing
If you notice cracks or breaks in the sheath surrounding your window, grab your caulk and seal it. Draw a caulk line across the sheath, press it down with your finger, and allow it to dry. This process will help protect your home from further water damage.
#4. Buy a New Wood and Cut It to Size
Head to your local lumber supply store to find a board that matches the width and height of the rotted one. Use a tape measure to mark an accurate cut length. Putting on the proper safety equipment before cutting the board is essential, including a face mask to protect yourself from inhaled sawdust. Alternatively, the lumber store can do the cutting for you for a fee if you provide them with accurate measurements.
#5. Check the Fit
Insert the freshly cut lumber into the empty slot around your window to guarantee it is the correct size. If any wood needs to be trimmed to fit, do it carefully. If the timber is too small, you can use epoxy wood filler to fill in the excess space. Tap the board with a hammer to ensure it is firmly fitted against the other pieces of wood.
#6. Drill or Hammer the Wood In
Use your drill and wood screws to fasten the board to the house. If you do not have a drill, you can use a hammer and nails to secure the new board.
#7. Paint and Caulk the New Wood
First, fill in the gaps between the boards with caulk to prevent moisture from entering the home. Afterward, paint the board with coats of matching paint. Allow the paint to dry, and your work is finished!
Get a Free Estimate for Window Frame Repair!
or call us(847) 557-9600
Method 3: Full-Frame Replacement
When severe rot has affected the structural parts of your window frame, a full-frame replacement is the most reliable solution. This is often the go-to method when the rotting wood starts to compromise the strength of the frame itself. Because this can be a bit of a project, it’s best to have a professional handle the installation to ensure it’s done right and lasts for years to come.
Materials Needed
- New window frame
- Caulk and caulking gun
- Insulation
- Screwdriver or drill
- Level
- Pry bar
- Utility knife
#1. Removing the Old Frame
Gently remove the entire existing window frame, including any rotted sections. You’ll likely need a pry bar and utility knife to cut through any old caulk or paint that’s sealing the frame to the wall. Take care not to damage the surrounding wall while you’re working.
#2. Inspecting and Prepping the Opening
Take a close look at the opening where the frame used to be. If you see any other damage, make sure to repair or replace those areas first. You want a solid foundation for the new frame. Then, give the opening a good cleaning to remove any leftover debris or old caulk.
#3. Installing the New Frame
Follow the instructions that came with your new frame for installation. Double-check that it’s level and fits snugly in the opening. Use a level to confirm that everything is lined up correctly. Secure the frame using screws or nails, as directed by the manufacturer.
#4. Sealing and Insulating
To keep out drafts and prevent future problems, place insulation around the frame, filling any gaps you find. Then, apply caulk along the edges of the frame to create a watertight seal. This step is crucial for energy efficiency and preventing water damage down the line.
#5. Installing the New Window
Carefully set the new window into the frame, making sure it opens and closes smoothly and forms a good seal. Secure the window in place with screws or nails, and then test it to ensure it works properly. If you need to make any adjustments for a better fit, do so now.
Replace or Repair the Rotted Window Frame?
| Factor | Repair | Replacement |
|---|---|---|
| Extent of Damage | Best for minor damage (less than 20% rot) | Best for extensive damage or compromised structural integrity |
| Cost | Lower upfront cost, but may require ongoing maintenance and repairs | Higher upfront cost but saves money long-term with efficiency |
| Energy Efficiency | Restores appearance, but may not significantly improve efficiency | Significantly improves energy efficiency, reducing energy bills |
| Maintenance | Requires regular upkeep, painting, and sealing | Low-maintenance, no painting or sealing required |
| Home Value | Adds charm to older homes | Increases market value and appeals to buyers |
| Aesthetic Preferences | Maintains the classic, traditional look | Offers a modern appearance with a wider range of styles and finishes |
| Environmental Impact | Less material waste, potentially more eco-friendly | Uses recyclable materials, improves home’s energy footprint |
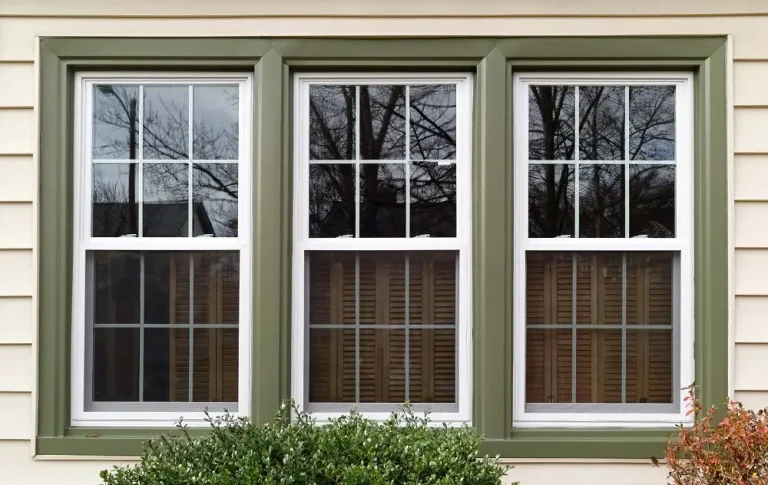
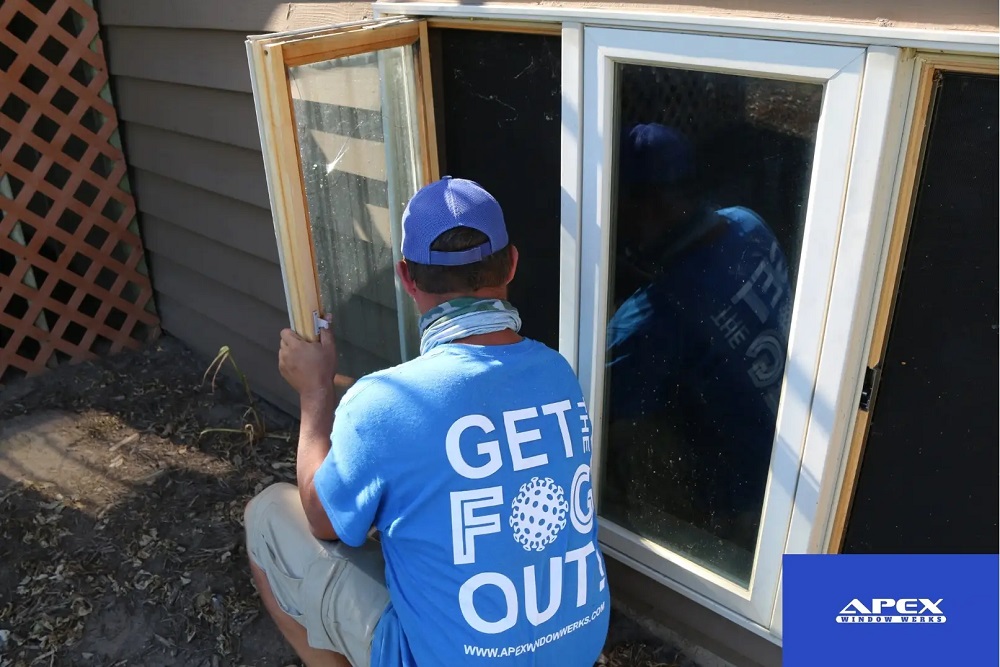
If you’re dealing with wood rot in your windows, you might want to consider switching to vinyl windows instead of just repairing the wood. Vinyl window replacements offer numerous advantages, such as better energy efficiency, improved indoor air quality, and a boost to your home’s resale value.
Before you commit to repairing the wood, it’s a good idea to compare the total cost of the repair with the cost of a full replacement. As professional window installers, we can give you a detailed assessment and help you decide what’s best for your home.
We Offer Reliable Window Repair & Replacement Options!
or call us(847) 557-9600
Useful Tips to Prolong the Life of Your Windows
Keeping your windows in good condition is key to maintaining a comfortable, energy-efficient home and avoiding expensive repairs down the road. Here are some handy tips to help you safeguard your windows against rot and other types of damage:
- Priming, painting, waterproofing: To guard against rotten wood, apply primer to its surface — let it dry thoroughly between each layer. Afterward, put two or more coats of latex paint on it, this will protect the wood from water and help it survive the elements. Finally, seal it with a few layers of waterproof sealer, ensuring all water is kept out of the wood.
- Seal leaks and cracks: Perform routine checks for leaks or cracks around the entire window frame. If you find any gaps, seal them off with caulks or putty to prevent any possible water damage.
- Apply fungicides: Spray fungicides regularly on wood surfaces to prevent fungi from causing wood rot. Follow the instructions on the product for correct application and elimination of fungi before it has the chance to react with moisture and cause decay.
- Use wood hardener: After removing any wet or decayed wood, apply a wood hardener to strengthen the remaining wood fibers. This will help consolidate the wood and prevent future rot.
Window Rot Repair Done Right: Leave It to the Professionals
In conclusion, repairing wood rot around windows can be done with epoxy or replacing the rotted wood sections. Although a bit more complicated, replacing the sections is a better choice for long-term use. However, you may need complete window replacement.
If you’re unsure about the extent of the damage or the best repair approach, don’t hesitate to reach out to the professionals. At Apex Window Werks, we’ve successfully repaired and replaced countless windows for our valued clients in Illinois, Wisconsin, and Minnesota. We’re happy to provide a free consultation to assess your windows and ensure they’re in tip-top shape.
FAQ
What causes wood to rot?
- White rot: The wood appears whitish or light yellow and feels spongy.
- Brown rot: The wood looks dry and crumbles into small pieces.
- Soft rot: This type is less common on window frames and creates a honeycomb-like appearance in the wood.
What are the effects of wood rot?
Wood rot can cause a variety of problems with your window frames, including:
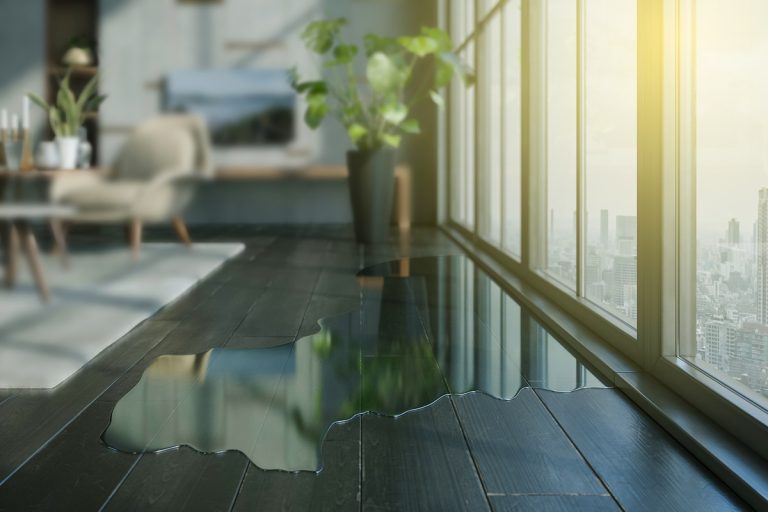
- Drafty windows: Rot can create cracks or gaps, leading to drafts and reduced energy efficiency.
- Rattling sashes: As the wood shrinks, the sashes can start to rattle.
- Soft wood: In the advanced stages of rot, the wood becomes soft and spongy.
- Paint bubbles: Bubbling paint is a sign of moisture damage underneath.
- Difficult operation: Swelling and warping of the wood can make it hard to open or close your windows.
How much does it cost to repair a rotted window frame?
How often should I inspect my windows for rot?

Get a free estimate
Hire the window repair company you can trust.