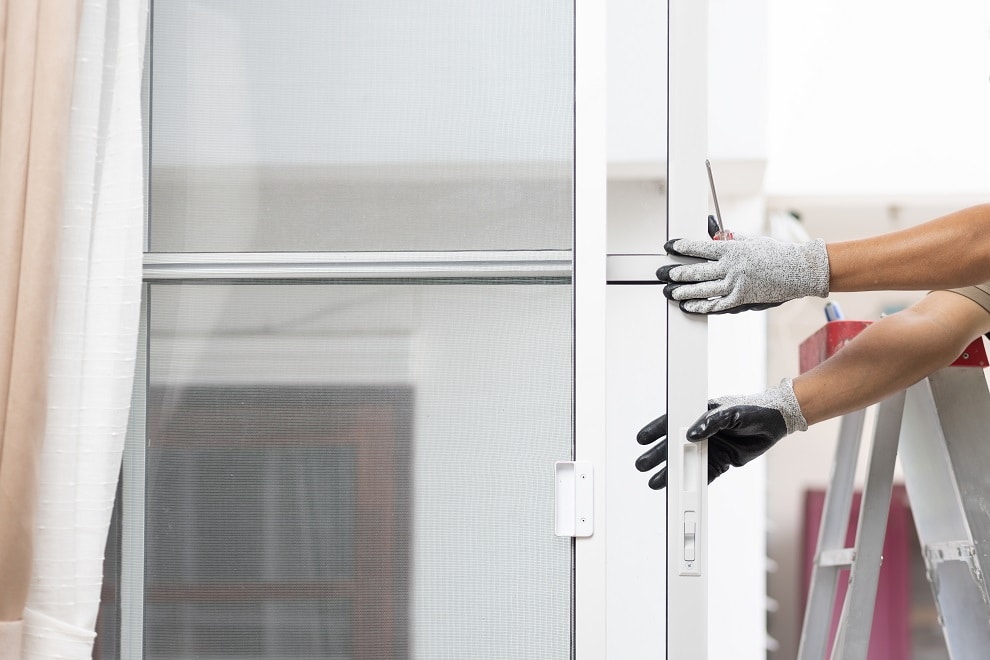
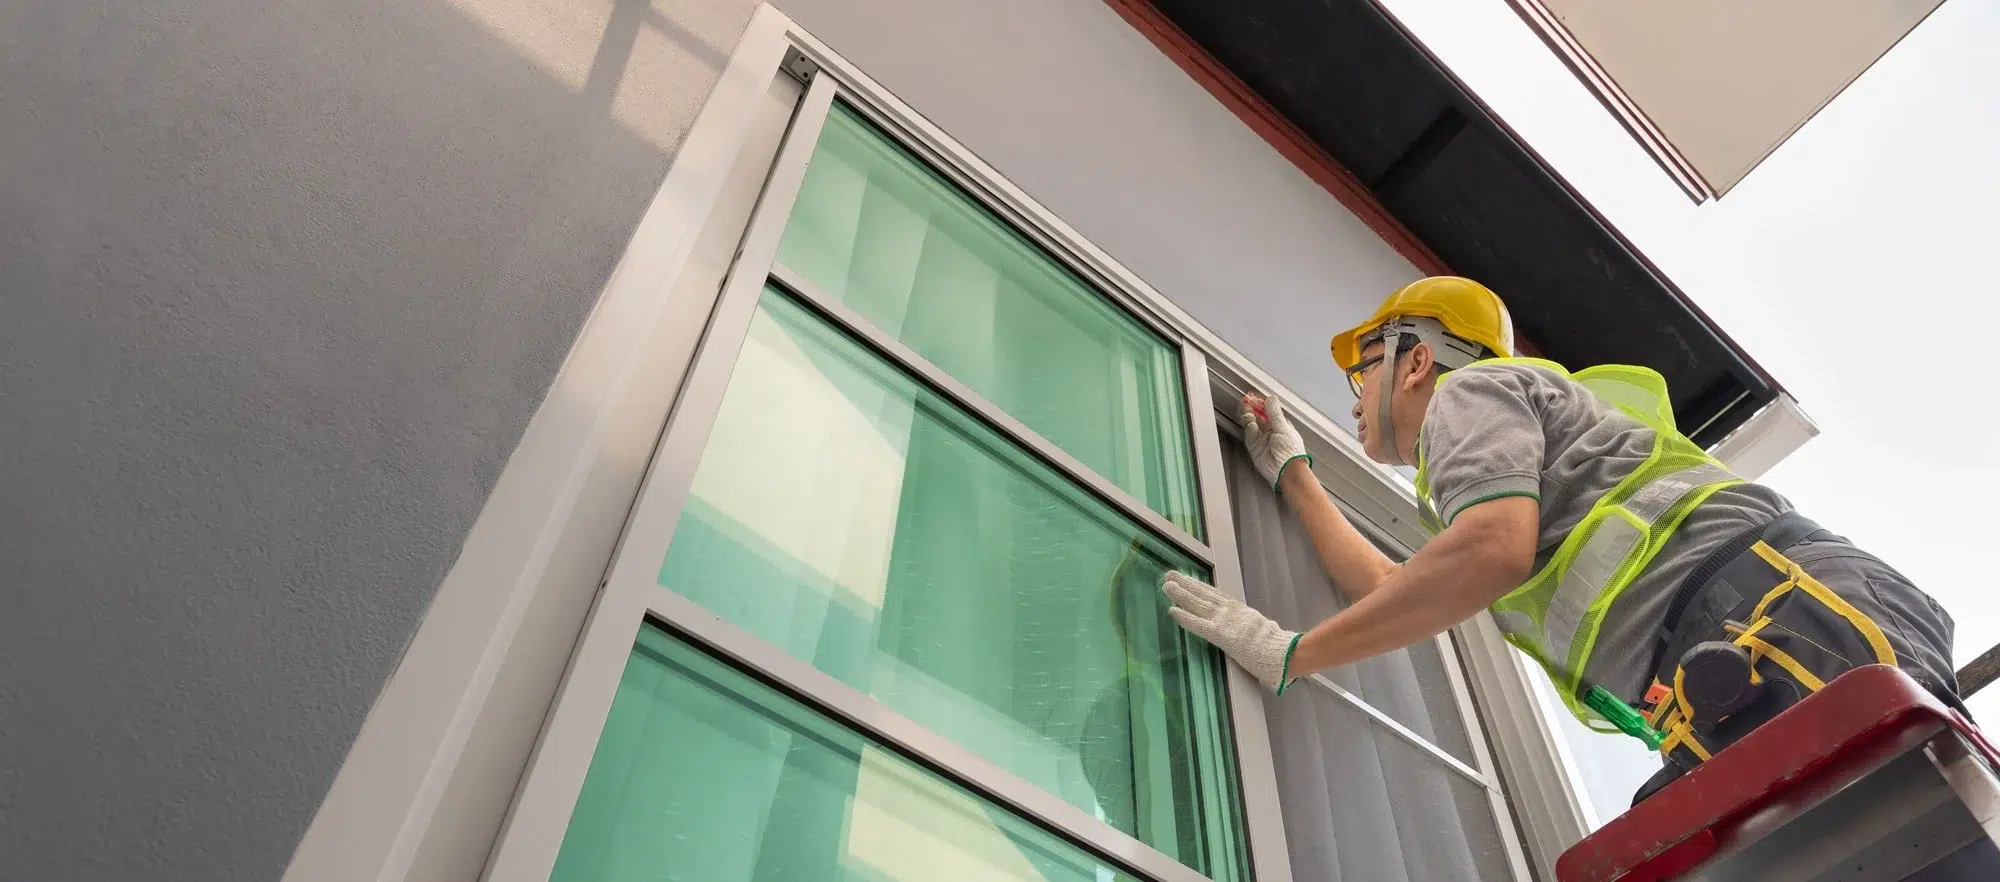
Sliding doors add elegance and functionality to any home, but like everything else, they need occasional adjustments to keep working smoothly. The good news? Most fixes are surprisingly simple with the right approach. If you ever find yourself in a jam or just want an expert’s touch, Apex Window Werks is always there to lend a helping hand in the world of sliding glass door repairs.
Signs That Your Sliding Door Requires an Adjustment

Understanding both the symptoms and their root causes will help you tackle the right problem:
- Hard to slide: That stubborn, sticky feeling usually means your rollers are worn out from years of use, or your house has settled and thrown things out of whack.
- Gaps around the edges: Those annoying drafts creeping through? Your door isn’t sitting flush anymore, typically from house settling or a wonky original installation, or if your door size isn’t standard.
- Grinding and scraping sounds: If your door sounds like nails on a chalkboard, you’ve got worn rollers or gunk buildup in the tracks, creating friction.
- Lock won’t catch: Wrestling with a latch that won’t cooperate? The door has probably shifted from settling or taken a hard slam that knocked things loose.
DIY has its place, but nothing beats the confidence of knowing door repair professionals got it right the first time. No second-guessing, no do-overs.
or call us(847) 557-9600
DIY vs. Professional Sliding Door Adjustment
Before you grab your toolbox, consider which approach makes the most sense for your situation:
| Consideration | DIY Approach | Professional Service |
|---|---|---|
| Cost | $20-$50 in tools/materials | $150-$300 complete service |
| Time Investment | 1-3 hours (plus learning curve) | 30-60 minutes |
| Tools Required | Must buy screwdrivers, lubricant, brushes | All professional equipment included |
| Skill Level | Moderate — requires patience and precision | Expert diagnosis and adjustment |
| Guarantee | Your best effort | Warranty on work and parts |
| Problem Diagnosis | Trial and error troubleshooting | Immediate identification of root causes |
| Safety Risk | Heavy door handling, potential injury | Trained professionals with proper equipment |
| Best For | Single door, basic adjustments | Multiple doors, complex issues, peace of mind |
Step-by-Step Sliding Glass Door Adjustment Process
There are established steps to adjust a standard sliding glass door, ensuring its prolonged efficiency and safety.
Important: Sliding glass doors are heavy and can cause injury if handled improperly. Always get help when removing or lifting doors. Never force a door to open or close, as this can cause permanent damage. If you’re uncomfortable with any step, contact a professional.
Step 0: Prepare the Tools
You’ll save yourself headaches by gathering everything upfront. Here’s what to grab and how long each part takes:
| Tool | Purpose | Time Needed |
|---|---|---|
| Flathead Screwdriver | Adjusting roller height and latch screws | 10-15 minutes |
| Phillips Head Screwdriver | Top-hung door adjustments | 5-10 minutes |
| Wire Brush or Old Toothbrush | Cleaning tracks and rollers | 15-20 minutes |
| Vacuum with Thin Attachment | Removing debris from tracks | 5 minutes |
| Rubbing Alcohol | Cleaning rollers | 10 minutes |
| Clean Cloth | Wiping and drying | 5 minutes |
| Silicone-Based Lubricant | Lubricating tracks | 3-5 minutes |
| Helper | Lifting and moving doors safely | As needed |
Step 1: Clean the Tracks
- Move both sliding doors to one end to expose the track.
- Use a wire brush or old toothbrush to scrub the track, removing all dirt and debris.
- Vacuum or wipe up loosened debris with a damp cloth.
- Apply silicone-based lubricant evenly across the track (hold spray 3-4 inches away).
- Wipe any excess lubricant from surrounding areas.
Warning: Only use silicone lubricants or paraffin wax. Avoid WD-40 as it attracts dirt.
Step 2: Adjust the Roller Height
- Locate the adjustment screws: Find the roller adjustment screws on both bottom edges of the door, usually in slots that may be covered by plugs.
- Use the right screwdriver: With a flathead screwdriver, turn the adjustment screws:
- Counterclockwise to raise the door
- Clockwise to lower the door
- Test for smoothness: Slide the door back and forth after each adjustment until it glides smoothly and sits level.

Step 3: Clean the Rollers
- Remove the door: Fully retract adjustment screws, lift the door from its track with help, and lay it on a soft surface.
- Extract the rollers: Extend rollers using adjustment screws, then gently pry them out.
- Clean the rollers: Clean with rubbing alcohol and allow to dry.
- Reinstall: Press rollers back into channels, retract with adjustment screws, and reinstall the door starting from the top track.
Step 4: Adjust the Latch
- Position for adjustment: Open the door and engage the locking mechanism to project the latch.
- Find the adjustment screw: Look for the screw above or around the latch mechanism.
- Make the adjustment: Using a flathead screwdriver, turn the screw to adjust the latch hook length until it properly engages with the strike plate.
- Test the lock: Attempt to lock the door to ensure smooth engagement.
Step 5: Adjust the Strike Plate (If Needed)
- Locate the strike plate: Find it on the door jamb where the latch engages.
- Check receiving holes: Ensure they’re clear of obstructions.
- Loosen keeper screws: Allow movement without completely removing.
- Align vertically: Adjust until it aligns perfectly with the door’s latch hooks.
- Secure and test: Retighten screws and test door operation. If it’s starting to look foggy or hazy between panes, that’s a sign of a seal problem, not alignment.

How to Adjust Top Hung Sliding Door
Top-hung sliding doors, featuring roller wheels at the top, are an elegant choice in many contemporary homes due to their seamless design. If you need to adjust them, follow the below steps.
- Access adjustment screws: Open the door and locate screws at the top corners.
- Use Phillips head screwdriver: Turn clockwise to raise, counterclockwise to lower.
- Adjust both screws equally: Do this to keep the door level.
- Check alignment: Ensure the door hangs straight with no friction.
- Inspect roller wheels: Clean or replace if needed.
Sliding Glass Door Maintenance Schedule
Sliding glass doors need regular care to prevent sticking, squeaking, and costly repairs. A few minutes of routine maintenance can keep them operating smoothly for years.
- Monthly: Clean tracks and remove debris.
- Quarterly: Apply silicone lubricant to tracks.
- Annually: Inspect and clean rollers, check all adjustments.
- As needed: Address any sticking or unusual sounds immediately.
Regular maintenance prevents most problems, but when issues persist, door repair professionals can diagnose underlying structural problems that DIY fixes can’t address.

When Your Door Won’t Play Nice, We Step In!
While DIY adjustments work for simple fixes, door repair professionals eliminate the headache of stubborn problems and safety risks.
Why wrestle with it when experts can fix it in under an hour? A properly adjusted sliding door enhances your home’s comfort, security, and daily functionality. Save your time and reach out to Apex Window Werks! Get a free virtual estimate or call us at (847) 557-9600.
FAQ
My adjustment screws are completely stripped or won’t turn at all. What now?
I followed all the steps, but my door is still hard to slide. What am I missing?
My door keeps jumping off the track completely. Is this dangerous?
Why does my door stick more in winter/summer, and what can I do about it?
How much should I expect to spend if I need to replace the rollers entirely?
Get a free estimate
Hire the window repair company you can trust.


