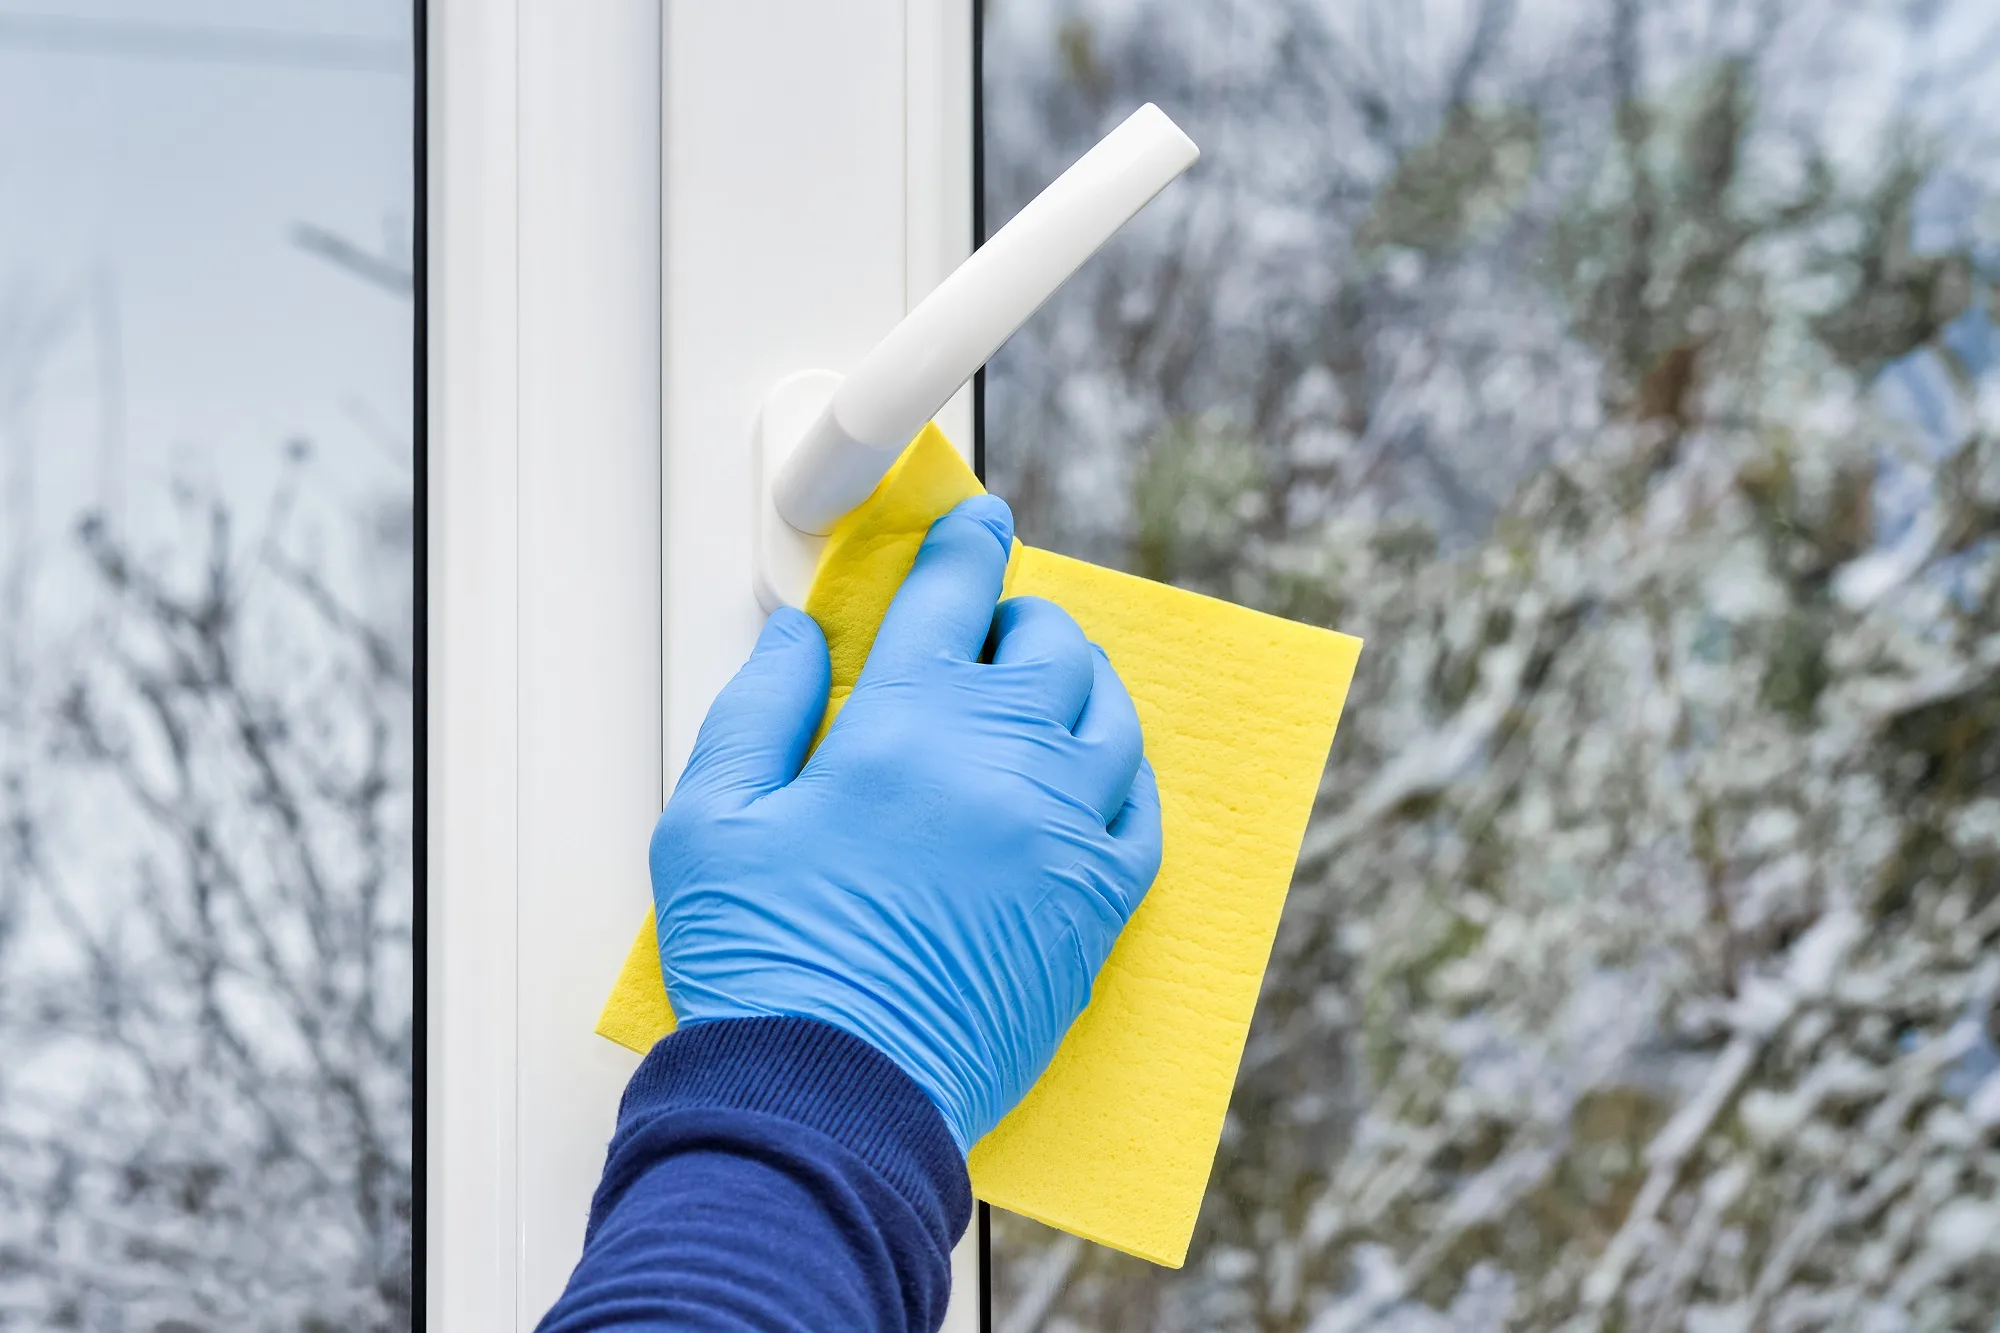
At Apex Window Werks, we specialize in keeping your home’s windows looking their best and functioning flawlessly. Vinyl windows are a popular choice for their durability and low maintenance, but even low maintenance requires some TLC.
This guide shows you how to clean vinyl windows like a pro and identify when it’s best to call in our expert vinyl window repair service. With regular cleaning and proper care, you can ensure your windows last for years to come.
Cleaning Tips for Vinyl Window Frames and Glass
Knowing how to clean vinyl windows the right way protects both the frame finish and the glass, so we’ll cover supplies, cleaning solutions, and the outdoor and indoor steps separately below.
1. What You’ll Need: Cleaning Supplies
- Soft cloth (lint-free microfiber cloths work best)
- Spray bottle
- Cleaning solution (options below)
- Soft towel
- Soft bristle brush (optional)
- Bucket (optional)
2. Cleaning Options
- Vinegar and water solution: Mix one part white vinegar with two parts warm water in a spray bottle. This is a natural, inexpensive cleaning solution perfect for everyday cleaning.
- Non-detergent soap solution: Add a few drops of mild dish soap (free of dyes and perfumes) to a bucket of warm water. This option is effective for removing light dirt and grime.
- Baby shampoo alternative: A small amount of baby shampoo mixed with warm water is another gentle option, handy if you don’t have vinegar or dish soap on hand.
- Commercial vinyl-safe cleaner: If you prefer a ready-made option, look for a cleaner labeled specifically safe for vinyl surfaces. These products are formulated to lift grime without breaking down the vinyl’s protective finish, making them a solid alternative when cleaning vinyl windows that see heavy exterior exposure.
3. Outdoor Vinyl Window Cleaning
Mother Nature can leave her mark. Here’s how to tackle the exterior of your vinyl windows:
- Prep work: Begin by removing any loose dirt, leaves, cobwebs, or debris with a soft brush attachment on your vacuum cleaner. This helps prevent scratching the vinyl surface when you move on to cleaning.
- Choosing the right cleaning solution: A gentle touch is key for vinyl! For everyday cleaning, use a vinegar and water solution. This is a natural and inexpensive option that gets the job done. If you’re facing tougher grime, a mild dish soap solution (a few drops of mild dish soap in a bucket of warm water) can be used.
- Timing matters: Clean the exterior during a cooler part of the day, like early morning or early evening, rather than in direct sun. Direct sunlight speeds up drying and tends to leave streaks behind, which undoes some of the work you just put in.
4. Indoor Vinyl Window Cleaning
Dust and dirt can build up in the tracks and sashes over time, potentially causing them to stick or malfunction. So, regular cleaning of your vinyl windows’ interior is just as important as the exterior:
- Dust removal: Use a vacuum cleaner with a soft brush attachment to remove dust and debris from the window tracks and sashes. Pay special attention to any crevices or corners where dirt might accumulate.
- Gentle cleaning: Similar to the exterior, use a soft cloth dampened with your chosen cleaning solution (vinegar and water or mild dish soap solution) to wipe down the interior window frames and sashes. Be mindful not to damage any window components or screens while cleaning.
Don't Let Minor Vinyl Window Issues Turn Into Major Problems
Contact us today for a free consultation from a professional window repair company.
or call us(847) 557-9600
How to Clean Vinyl Window Frames
If you’ve been asking yourself how do you clean vinyl windows without damaging the finish, the answer comes down to the right solution and a gentle touch. Here’s how to clean vinyl window frames in three simple steps, plus a fourth for stains that won’t budge.
- Brush off loose dirt and dust first: Run a dry microfiber cloth or a vacuum’s soft brush attachment over the frame and sill before you introduce any liquid. Clearing debris first keeps you from grinding grit into the vinyl once you start wiping.
- Choose the right cleaning solution: For everyday cleaning, the vinegar and water solution is ideal. For tougher stains, consider the mild dish soap solution.
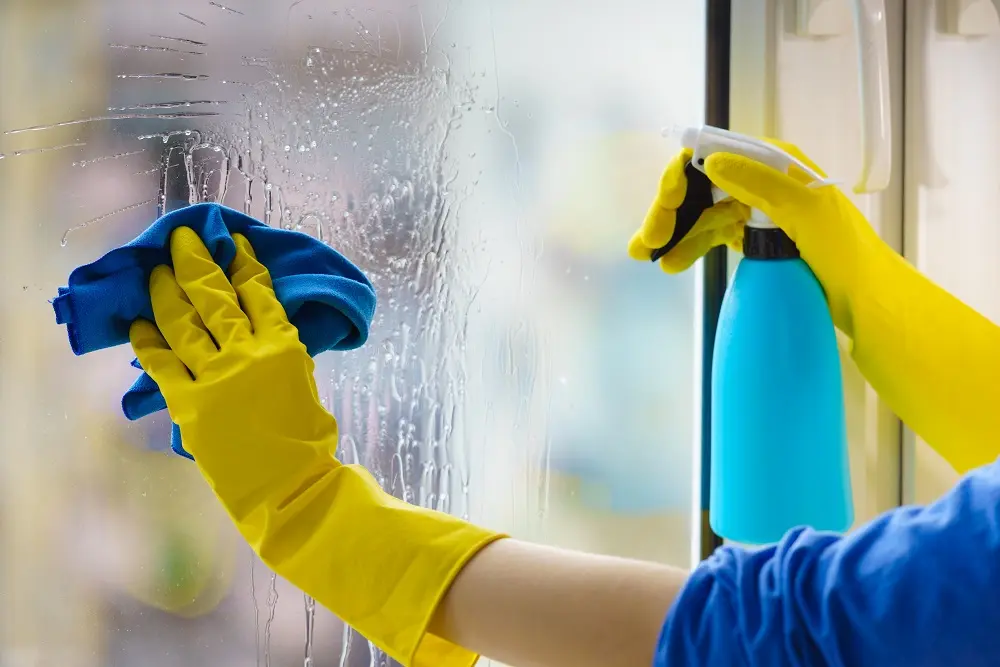
- Spray and wipe: Lightly mist the vinyl window frames with your chosen cleaning solution. Use the soft cloth to gently wipe away dirt and grime. Avoid using excessive pressure that could scratch the vinyl surface.
- Work stubborn dirt with a soft-bristled brush: For corners, crevices, and any spot the cloth can’t quite reach, a soft-bristled brush or an old toothbrush works the solution into tight spaces without scratching the vinyl.
- Tackle stubborn spots: For grease marks, mildew, or hard water stains, spray a vinegar and water solution directly on the spot and let it sit for a few minutes before wiping. This gives the vinegar’s natural acidity time to break down residue without needing anything harsher on the vinyl. For mold or heavy mildew, a vinyl-safe mold remover may work better than vinegar alone, and for sticky grease residue, a small amount of rubbing alcohol on a cloth can help dissolve it before you rinse.
- Rinse thoroughly: Spray or wipe the frame down with clean water to remove any leftover soap or vinegar residue. Skipping this step lets residue attract dirt again almost as fast as before you cleaned.
- Dry with a lint-free towel: Make sure the frame is completely dry, especially in the corners and creases. Leftover moisture sitting in those spots can lead to mold or mildew over time.
Cleaning the Glass of Your Window
Clean frames deserve equally clean glass, so once the vinyl is done, move on to the panes themselves.
- Commercial glass cleaner: While safe for glass, avoid using harsh chemicals on vinyl window frames. Opt for a commercial glass cleaner specifically formulated for windows. If your cleaner is ammonia-based, keep it off the vinyl frame itself and wipe up any overspray right away so it doesn’t sit on the surface.
- Spray and wipe: Lightly mist the glass with the glass cleaner and use the soft cloth to buff it clean in a circular motion.
- Squeegee for larger panes: A silicone or rubber squeegee pulled from top to bottom in a single, even stroke often beats a cloth for a streak-free result, especially on bigger windows or exterior glass.
- Lint-free finish: Use a separate lint-free cloth to achieve a streak-free finish.
- Stubborn residue: If a spot won’t lift with a cloth, wet the glass first and work a plastic scraper or single-edge razor blade in one direction only, never back and forth. This step works best on tempered glass and should be used sparingly, since dragging the blade can scratch the surface.
General Tips for Cleaning Vinyl Windows
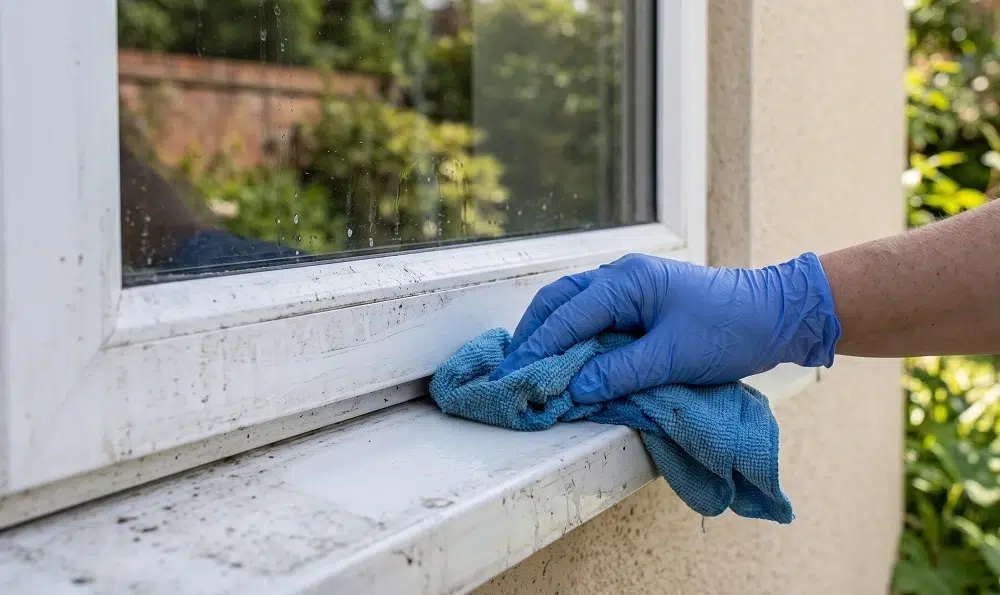
- Frequency: Aim to clean your vinyl windows at least twice a year, or more often if you live in a dusty or polluted environment. Spring and fall are good times to incorporate window cleaning into your seasonal cleaning routine.
- Weather watch: Avoid cleaning your windows on excessively hot or sunny days. The heat can cause the cleaning solution to dry too quickly, leaving streaks. Opt for a mild, overcast day, or the cooler morning and evening hours, for optimal cleaning results.
- Read the manufacturer’s instructions carefully: Some vinyl window manufacturers might have specific cleaning recommendations. It’s always best to consult your window’s manual for any special instructions.
- Avoid harsh chemicals: Harsh chemicals like ammonia, abrasive cleaners, and scouring pads can damage the vinyl surface. Stick to the gentle cleaning solutions mentioned above. Sharp tools like steel wool, metal scrapers, and razor blades should also stay away from the vinyl frame itself; they can scratch or puncture the surface and compromise its weather resistance.
- Work in sections: Clean your vinyl windows in sections, especially for larger windows. This helps prevent cleaning solution from drying on the surface, which can leave streaks.
- Attention: When cleaning the interior of your vinyl windows, be mindful not to damage any window components or screens.
- Squeegee option (exterior only): For a streak-free finish on the exterior glass after cleaning, consider using a squeegee. Use a silicone or rubber squeegee and wipe in a vertical motion, starting from the top and working your way down.
- Lubrication (optional): If you find your windows sticking when opening or closing, a silicone-based lubricant can help. Spray it onto the balance rods first, then raise the sash and apply a bit inside the channel so the sash can move freely. Apply a small amount to the tracks and wipe away any excess. Avoid using petroleum-based lubricants as they can damage the vinyl.
Common Vinyl Window Cleaning Mistakes to Avoid
Even with the right supplies on hand, a few habits can undo your work or shorten a window’s lifespan. Here are the most common mistakes to skip.
- Pressure washing: A pressure washer might seem like a shortcut, but the force can push water past the seals and weep holes, leading to leaks or fogging between the panes down the road. Stick to a garden hose or a bucket and cloth instead.
- Skipping a quick inspection: Before you start cleaning vinyl windows, take a look at the frame and glass for cracks, warping, or gaps. Cleaning over existing damage can push moisture into places it shouldn’t be and make a small problem worse.
- Mixing cleaning products: Combining bleach-based and ammonia-based cleaners, even by accident, can create fumes that are unsafe to breathe. Stick to one solution at a time and rinse thoroughly between products.
- Over-saturating the frame: Spraying on more solution than you need can force water into the tracks and weep holes. A light mist is enough for most jobs, so let it sit briefly, then wipe.
Why a Clean Routine Keeps Your Vinyl Windows Functioning at Their Best
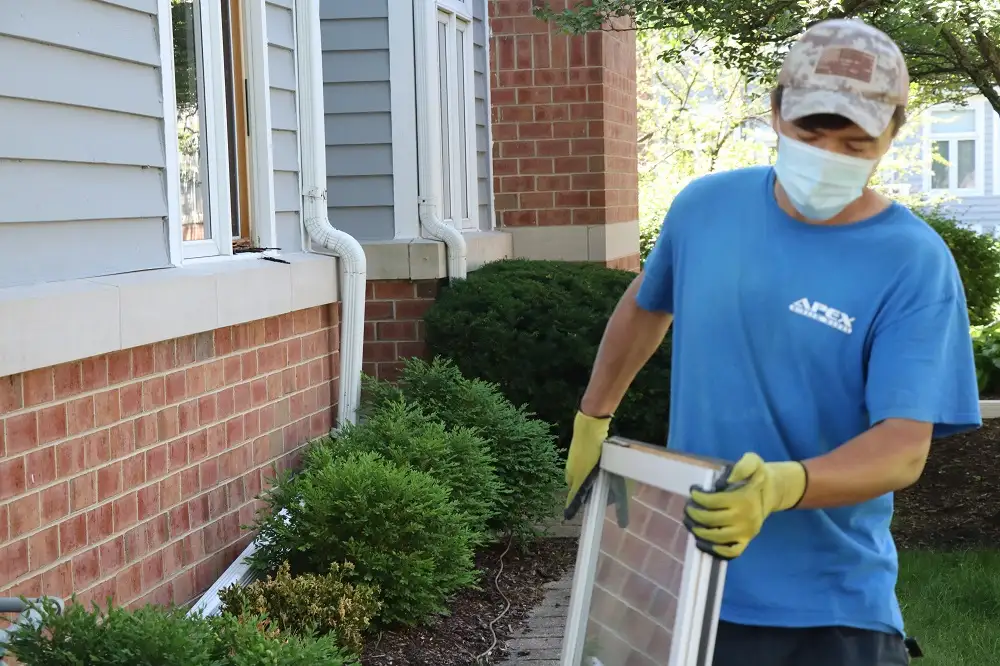
Cleaning vinyl windows offers several benefits:
- Preserves appearance: Dirt, grime, and dust can build up on vinyl window frames and glass, making them look dull and dingy. Regular cleaning removes these contaminants, keeping your windows looking bright and new.
- Maintains functionality: Over time, dirt and debris can accumulate in the window tracks and sashes, hindering smooth operation. Cleaning these areas ensures your windows open and close easily.
- Improves energy efficiency: Dirt and film on the glass can obstruct sunlight and reduce the effectiveness of your vinyl windows’ insulating properties. Clean windows allow for better natural light penetration and improved energy efficiency.
- Extends lifespan: Proper cleaning removes harmful elements that can break down the vinyl material over time, such as dust, pollen, and harsh UV rays. This helps prevent premature cracking, warping, or fading of your vinyl window frames.
By dedicating a little time to cleaning your vinyl windows regularly, you can enjoy these benefits and ensure your windows last for years to come.
Tips for Maintaining Vinyl Windows
One of the biggest advantages of vinyl windows is their resistance to fading, rust, and cracking caused by the sun’s ultraviolet (UV) rays. This inherent durability, coupled with proper care, allows vinyl windows to retain their like-new appearance for years to come.
Here’s how to ensure your vinyl windows stay beautiful and functional with minimal effort.
1. Inspect Regularly
Schedule a bi-annual inspection, in spring and fall. Examine all the hardware – latches, locks, and cranks – for smooth operation. Check for condensation buildup between the panes, which could indicate a seal issue. Condensation trapped between panes usually means the seal has failed, which can lead to mold and higher energy bills if it’s left unaddressed, so it’s worth acting on quickly. Finally, ensure all the window seals are intact and haven’t cracked or separated, and handle any vinyl window repair if you spot cracks or warping.
2. Maintain Weather Protection
Your window’s caulk and weather stripping guard against the elements. Regularly inspect them for signs of wear and tear, such as cracks, rips, or loose sections. If you find any damage, address it promptly by repairing or replacing the caulk or weather stripping. Early intervention can prevent water leaks and potential damage down the line.
3. Operate Your Windows Properly
Improper window operation can lead to gradual deterioration over time. To avoid this, ensure everyone in your household understands how to use your windows correctly. If you’re unsure yourself, consult the window installation manual or find instructional videos online specific to your window type. By teaching proper techniques for opening and closing the windows, you’ll help them last for years to come.
4. Protect Against Extreme Temperatures
Vinyl expands in heat and can turn brittle in extreme cold, so big swings in temperature put extra stress on the frame over time. Blinds, curtains, or a solar screen can shield windows from direct summer sun, while keeping your heating running normally in winter helps prevent excess cold stress on the frame. If you notice warping, discoloration, or trouble operating a window after a heat wave or cold snap, it’s worth having it checked.
5. Calling a Professional
Minor window repairs are manageable, but for more complex issues, leave it to the experts. If you notice cracks, significant warping, or malfunctioning hardware, consulting a professional vinyl window repair service is recommended. No amount of cleaning vinyl windows can fix a failed seal or warped frame, so that’s the point where a repair visit makes more sense than another cleaning session.
Trust Apex Window Werks for Expert Vinyl Window Repair
While regular cleaning and proper maintenance can keep your vinyl windows looking their best for years, there may come a time when they require more than a little TLC. For complex repairs or unexpected issues in Illinois, Minnesota, or Wisconsin, reach out to our professionals at Apex Window Werks. Our technicians are equipped to handle a wide range of vinyl window repairs, ensuring your windows regain their optimal functionality and beauty.

Get Your Free Vinyl Window Repair Estimate
Our technicians across Illinois, Minnesota, Wisconsin, and Ohio fix stuck sashes, foggy panes, and stains that won’t budge, with no pressure to replace what can be repaired.